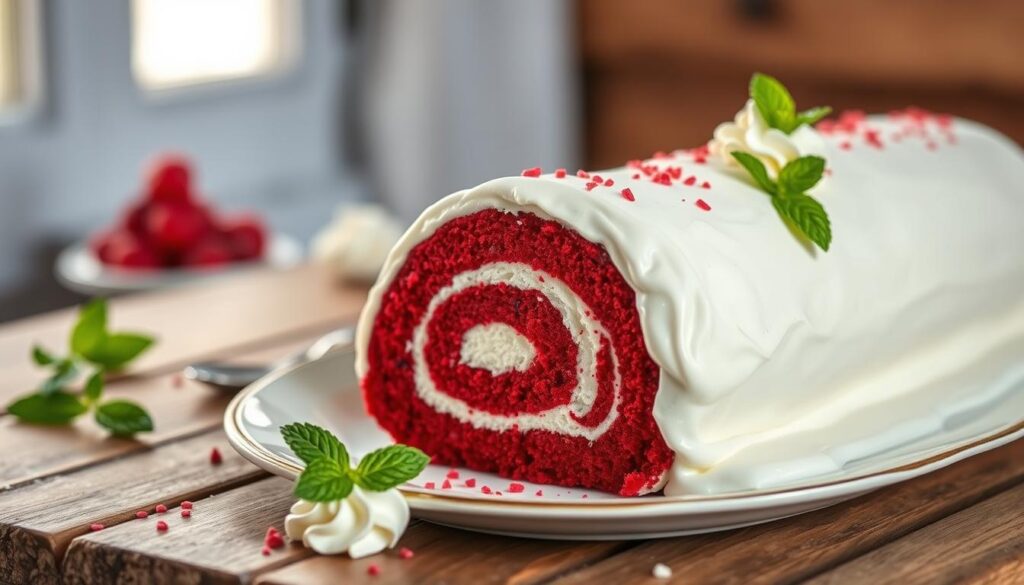
Learn how to make a stunning red velvet cake roll. It’s a delightful dessert that will wow your family and friends. It’s perfect for any special occasion because of its rich flavor and elegant look.
Making a red velvet cake roll needs precision and passion. The secret is in the right mix of ingredients. They give the cake its deep red color and soft texture. With the right techniques, you can turn simple ingredients into a beautiful, cream cheese frosting-filled masterpiece.
Professional bakers know that quality ingredients and careful prep are key. From beating eggs and sugar to picking the right red food coloring, every step is important. These steps help create a red velvet cake roll that looks amazing and tastes moist.
Ready to improve your baking skills and make a dessert loved by all? This recipe will help you through each step of making the perfect red velvet cake roll. It’s great for both experienced bakers and home cooks.
Introduction to Red Velvet Cake Rolls
Red velvet cake rolls are a tasty twist on a classic dessert. They mix the rich taste of red velvet cake with a new rolling method. This creates a beautiful and delicious treat.

What is a Red Velvet Cake Roll?
A red velvet cake roll is a thin cake baked in a large sheet pan. It’s then rolled with a creamy filling. The cake’s deep red color comes from cocoa powder and food coloring.
This recipe keeps the original red velvet cake’s taste but presents it in a new way. It’s a feast for the eyes and taste buds.
History of Red Velvet Cake
The red velvet cake’s history goes back to the early 20th century in the southern United States. Its red color came from cocoa powder and buttermilk. During the Great Depression, beetroot juice was added to make it even more moist.
The Waldorf Astoria Hotel made it famous, turning it into a beloved tradition. Today, bakers keep the tradition alive with new twists like the cake roll.
Essential Ingredients for Your Cake Roll
Making a perfect red velvet cake roll begins with the right ingredients. Baking experts say quality matters a lot. Choosing the right ingredients is key to a great dessert.

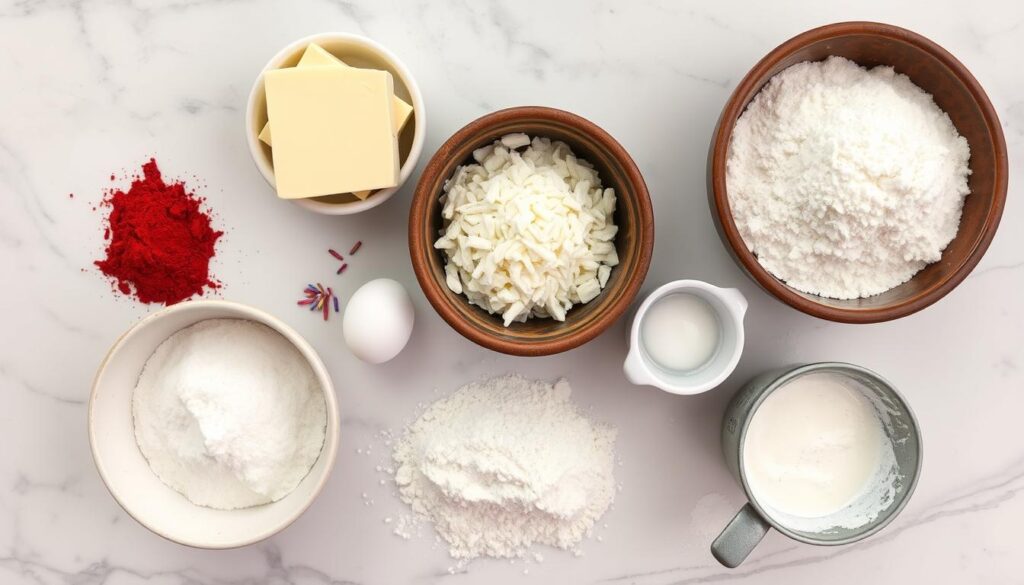
A good cocoa cake needs the right mix of dry and wet ingredients. You’ll need 3 cups of cake flour, 2 tablespoons of unsweetened natural cocoa powder, and 4 large eggs at room temperature. These ingredients help make the cake tender and special.
Key Ingredients You’ll Need
For the perfect texture and flavor, you’ll need certain ingredients. Here’s what you should have:
- Cake flour (3 cups)
- Large eggs (4, room temperature)
- Unsweetened cocoa powder (2 tablespoons)
- Gel food coloring for vibrant red color
- Buttermilk
- Canola oil
- White vinegar
- Vanilla extract
Optional Add-Ins for Extra Flavor
Make your red velvet cake roll even better with some extra touches. Try adding mini chocolate chips or unique fillings. Raspberry puree can make it truly special. Using top-notch vanilla extract is also a good idea.
With these ingredients, you’re ready to make a cake roll that will wow everyone. It takes about 3 hours to prepare, making it a fun project.
The Baker’s Toolbox: Equipment Needed
Making a perfect red velvet cake roll needs more than just ingredients. The right baking tools and cake roll equipment can make your kitchen work a joy. Professional bakers say quality kitchen tools are key to a beautiful dessert.
Must-Have Baking Tools for Success
You’ll need a few important items in your baking kit. A 15x10x1-inch jelly roll pan is vital for a thin cake layer. Parchment paper makes removing the cake easy and prevents it from sticking.
Sturdy mixing bowls and an electric mixer are also must-haves. They help mix ingredients smoothly.
Essential Kitchen Accessories
Some tools can really boost your baking skills. A rubber spatula is great for scraping batter. A clean kitchen towel is essential for rolling the cake without it cracking.
An offset spatula makes spreading batter and filling easy. A sifter ensures dry ingredients are evenly mixed, giving your cake a light texture.
Optional Convenience Boosters
While not essential, some tools can make baking easier. A cake board helps when transferring and presenting your cake roll. Decorating bags with different tips let you get creative with frosting.
Using silicone mats adds extra non-stick protection to your baking equipment.
Step-by-Step Preparation of Red Velvet Cake Batter
Making the perfect red velvet batter needs precision and skill. Professional bakers know that mastering cake mixing techniques can make a simple dessert into a special treat.
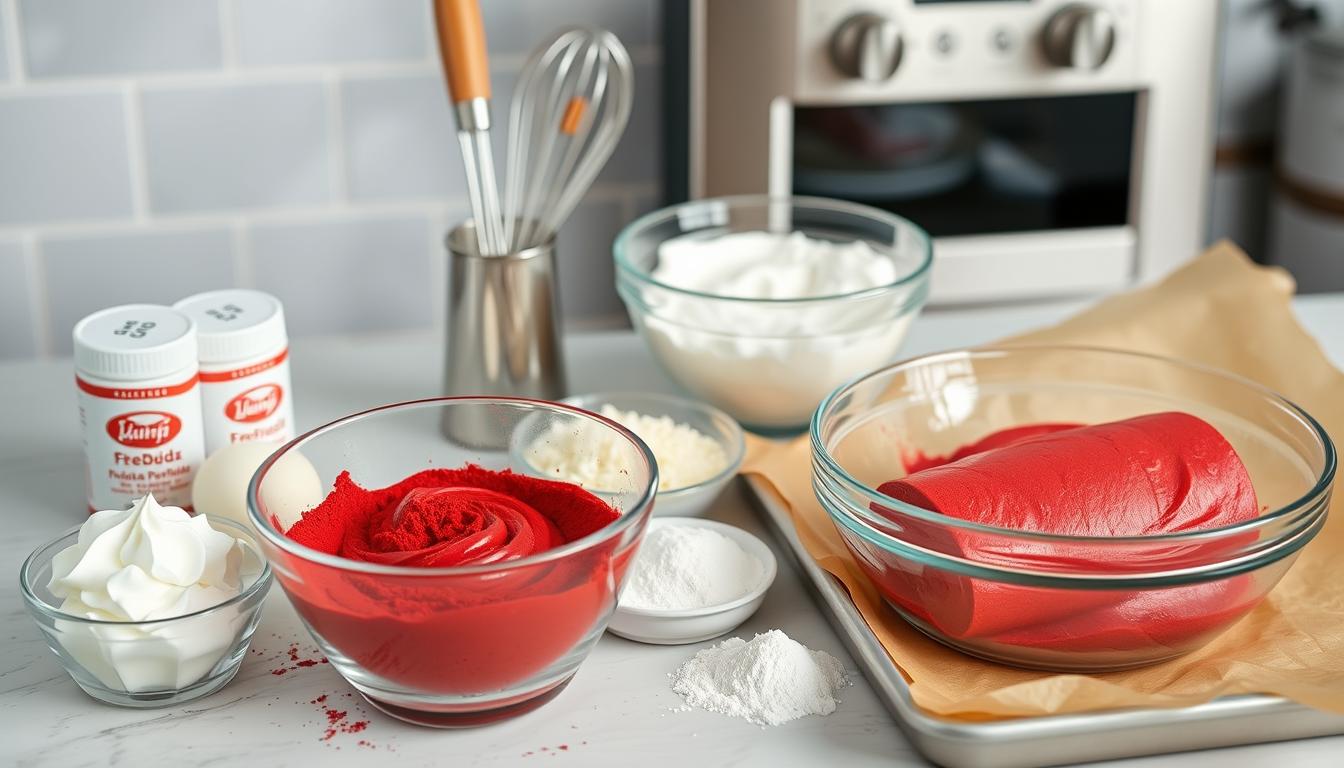
First, make sure your ingredients are at room temperature. This step is key for a smooth batter and great texture. Start by beating eggs until they’re thick and light yellow. This usually takes about five minutes and is the base of your cake roll.
Creating the Perfect Cake Batter
Slowly add brown sugar to the eggs, then oil. It’s important to mix at a steady pace and not overdo it. Next, add buttermilk, vanilla extract, and food coloring to get that bright red color.
Common Mistakes to Avoid
When making red velvet batter, avoid common mistakes. Overmixing can make the cake tough and dense. Stop mixing once the dry ingredients are fully incorporated. Also, make sure the food coloring is mixed well to avoid streaks or uneven color.
Pro tip: Use a 10 x 15-inch jelly roll pan and preheat your oven to 375°F for the best results. The cake will bake in 11-13 minutes. It’s done when it springs back or a toothpick comes out clean.
Baking Your Red Velvet Cake Roll
Mastering baking techniques is key for a delicate red velvet cake roll. The right oven temperature is vital. It can turn a disaster into a masterpiece.
When working with this dessert, precision is essential. Start by preheating your oven to exactly 350°F. An oven thermometer ensures accurate temperature, avoiding baking mishaps. Thin cake rolls need careful monitoring for the perfect texture.
Oven Settings for Perfect Texture
Timing is critical when baking your cake roll. Aim for 12 to 15 minutes in the oven. Check if the cake’s surface springs back when lightly touched. This means it’s perfectly baked and ready to roll.
Preventing a Dry Cake
Keeping your cake moist is vital. Avoid overbaking by checking early and removing at the first signs of doneness. Use vegetable oil in your recipe to keep it moist. A light touch and careful attention will keep your cake soft and rich.
Baking is both science and art. Each oven is different. So, don’t hesitate to make small adjustments to get your perfect cake roll.
Cooling and Rolling Your Cake
Mastering cake rolling techniques is key to a perfect rolled cake. Cooling is vital to avoid cracks and achieve a smooth look. Knowing the right cooling methods can greatly improve your baking.
Cooling Techniques for the Perfect Cake Roll
Begin by cooling your cake for five minutes after baking. Then, flip it onto a clean towel dusted with confectioners’ sugar. This prevents sticking and helps roll smoothly.
Rolling Without Cracking
Roll the cake while it’s warm for a successful roll. Remove the parchment paper and roll from the short end. The towel guides you, and the warm cake is more pliable.
Keep the cake rolled in the towel as it cools on a wire rack. This method helps the cake set in a rolled shape. Bakers suggest cooling for 30-45 minutes before unrolling and filling.
Practice makes perfect with cake rolling. Don’t worry if your first try isn’t perfect. With each attempt, you’ll get better at making this impressive dessert.
Making the Cream Cheese Filling
Making the perfect cream cheese frosting is an art. It takes your red velvet cake roll from good to extraordinary. The right cake filling can make your dessert unforgettable.
A classic cream cheese filling needs precision and care. Start by getting high-quality ingredients: 20g of cream cheese, 130g of heavy cream, and 20g of sugar. Make sure your ingredients are at room temperature for a smooth texture.
Essential Ingredients for Cream Cheese Filling
Your white chocolate raspberry buttercream starts with softened cream cheese. Beat the cream cheese until it’s smooth, with no lumps. Then, add confectioners’ sugar slowly to make a rich, creamy base.
Tips for a Light and Fluffy Texture
To get the perfect texture, gently mix in melted white chocolate. Add fresh raspberries for a fruity twist. Blend them into a puree and swirl them into the frosting. Mix well but gently to avoid deflating the filling.
Professional bakers suggest using an electric mixer on medium speed. Stop now and then to scrape down the sides. This method ensures your filling is evenly blended and silky smooth.
Assembling the Red Velvet Cake Roll
Cake assembly turns a simple baked layer into a stunning holiday dessert. The final steps need precision and creativity. This makes the dessert look professional and impresses your guests.
Once your cake cools completely, unroll it on a clean, flat surface. Handling the cake gently and spreading the filling evenly is key. Make sure to leave a 1/2-inch border around the edges to prevent overflow.
Precision in Rolling
Begin rolling from the same short end as before. Roll tightly but gently to avoid cracking the cake. Wrap the cake in plastic wrap and chill for at least two hours. This lets the filling set and the flavors blend.
Creative Presentation Techniques
Add a touch of elegance to your holiday dessert. Dust with confectioners’ sugar for a classic look or drizzle with melted white chocolate for sophistication. Fresh berries or mint leaves make a beautiful garnish, adding to both looks and taste.
Your red velvet cake roll is now ready to dazzle any dessert table. It shows off your baking talent and creativity.
Decorating Your Cake Roll
Cake decorating turns a simple red velvet cake roll into a stunning festive dessert. It impresses your guests. Holiday baking is not just about taste. It’s about creating a visual masterpiece that delights both eyes and palate.
Frosting Options and Techniques
Professional bakers use many frosting techniques to elevate your cake roll. Start with a smooth cream cheese base. It provides a classic backdrop for creative designs.
Use an icing spatula to create smooth, even layers. For texture, try piping decorative rosettes or elegant swirls around the cake’s exterior.
Adding Festive Touches
Seasonal cake decorating brings magic to your dessert. Dust the cake roll with confectioners’ sugar for a snowy winter effect. Sprinkle edible glitter for sparkle during holiday celebrations.
Fresh raspberries and blueberries add vibrant color and a burst of flavor. They make your cake roll both beautiful and delicious.
Professional decorating tips include using stencils with cocoa powder for detailed designs. Create chocolate curls as elegant garnishes. Remember, the goal is to create a dessert that looks as amazing as it tastes. It should be a centerpiece for any festive gathering.
Serving Suggestions for Red Velvet Cake Roll
Red velvet cake rolls add elegance to any event, making dessert pairings unforgettable. They are perfect for holiday meals, becoming a stunning centerpiece that grabs everyone’s attention.
Perfect Pairings for Your Dessert
Enhance your red velvet cake roll with great pairings. A warm espresso or rich hot chocolate contrasts beautifully with the cake’s smoothness. For lighter choices, try herbal tea or a glass of cold milk.
Festive Desserts for Special Occasions
These cake rolls are ideal for holidays like Christmas, Valentine’s Day, and Thanksgiving. To make them look even better, top with vanilla ice cream or fresh whipped cream. Add fresh raspberries or powdered sugar for a sophisticated finish.
Creative Serving Recommendations
When serving, cut the cake roll into elegant rounds to show off the cream filling. This dessert serves 10-16 guests and can be made ahead of time. Refrigerate for 3-4 days or freeze for up to 2-3 months for a quick treat.
Storing and Preserving Your Cake Roll
Keeping your red velvet cake roll fresh is key. It needs the right storage to stay tasty. Follow these tips to keep your cake roll delicious.
Refrigeration is best for storing cake rolls. A cake roll can stay fresh for up to seven days in an airtight container. But, the cream cheese filling needs extra care to avoid spoilage.
Refrigerator Storage Strategies
Put your cake roll in a sealed container with a tight lid. Wrap it in plastic wrap to keep moisture in. Bakers say to keep it at 34-40°F for the best texture.
Freezing Cakes for Extended Enjoyment
Freezing is great for keeping your cake longer. Wrap it in plastic wrap, then aluminum foil. This keeps it moist and prevents freezer burn. Your cake can stay good for up to three months this way.
Thawing Techniques
To thaw, put the cake in the fridge overnight. This slow thaw keeps the texture and quality. Don’t thaw at room temperature, as it can ruin the filling.
Conclusion: Enjoying Your Red Velvet Cake Roll
Your red velvet dessert journey ends with a delightful creation. It turns family desserts into memorable moments. This elegant cake roll is more than a sweet treat. It’s a chance to make joy and connection with loved ones.
Holiday traditions often include special recipes passed down through generations. Your red velvet cake roll can become a cherished tradition. It brings family members together. Each slice is not just about culinary skill but also a warm invitation to share, laugh, and make lasting memories.
Sharing with Family and Friends
When serving this stunning dessert, remember that presentation matters as much as taste. The vibrant red color and elegant rolled design will surely impress guests. Pair it with a cup of coffee or hot tea to elevate the experience. This will turn an ordinary gathering into a special occasion.
Final Thoughts on the Recipe
Mastering this red velvet cake roll takes practice, but the rewards are sweet. With each attempt, you’ll refine your technique and develop a signature dessert. It will become synonymous with your baking expertise. Embrace the process, enjoy the delicious results, and continue exploring the wonderful world of homemade baked delights.
FAQ
What makes a red velvet cake roll different from a traditional red velvet cake?
How difficult is it to make a red velvet cake roll at home?
Can I make a red velvet cake roll in advance?
What are some common mistakes to avoid when making a cake roll?
Can I modify the filling to create different flavor variations?
What occasions are best for serving a red velvet cake roll?
How do I prevent my cake roll from cracking when I unroll and fill it?
What’s the best way to store leftover red velvet cake roll?

Red Velvet Cake Roll
Ingredients
- 3 cups cake flour
- 2 tbsp unsweetened natural cocoa powder
- 4 large eggs (room temperature)
- Gel food coloring (for vibrant red color)
- 1 cup buttermilk
- 1 cup canola oil
- 1 tbsp white vinegar
- 2 tsp vanilla extract
- 20 g cream cheese (for filling)
- (130 g heavy cream (for filling)
- 20 g sugar (for filling)
Instructions
- Preheat the oven to 375°F and prepare a 10×15-inch jelly roll pan with parchment paper.
- Beat the eggs until thick and light yellow, about 5 minutes.
- Gradually add brown sugar and oil while mixing.
- Incorporate buttermilk, vanilla extract, and red food coloring until well combined.
- Sift together the cake flour, cocoa powder, and dry ingredients; fold gently into the wet mixture.
- Pour the batter evenly into the prepared pan and bake for 11–13 minutes or until a toothpick inserted comes out clean.
- Cool the cake for 5 minutes before flipping it onto a towel dusted with confectioners’ sugar.
- Roll the cake gently in the towel and let it cool for 30–45 minutes.
- Prepare the cream cheese filling: Beat cream cheese, sugar, and heavy cream until smooth and fluffy.
- Unroll the cooled cake, spread the filling evenly, and re-roll tightly.
- Wrap in plastic wrap and refrigerate for at least 2 hours.
- Dust with confectioners’ sugar, drizzle with white chocolate, or garnish with berries before serving.
Notes
- Ensure all ingredients are at room temperature for a smooth batter.
- Do not overmix the batter to maintain a light texture.
- Roll the cake while warm to prevent cracks.
- Optional add-ins like mini chocolate chips or raspberry puree can enhance the flavor.
- Store the cake roll in the refrigerator for up to 3 days.
Share a photo and tag us @Ideal_Tasty